


 Rdrama's number 1# poweruser
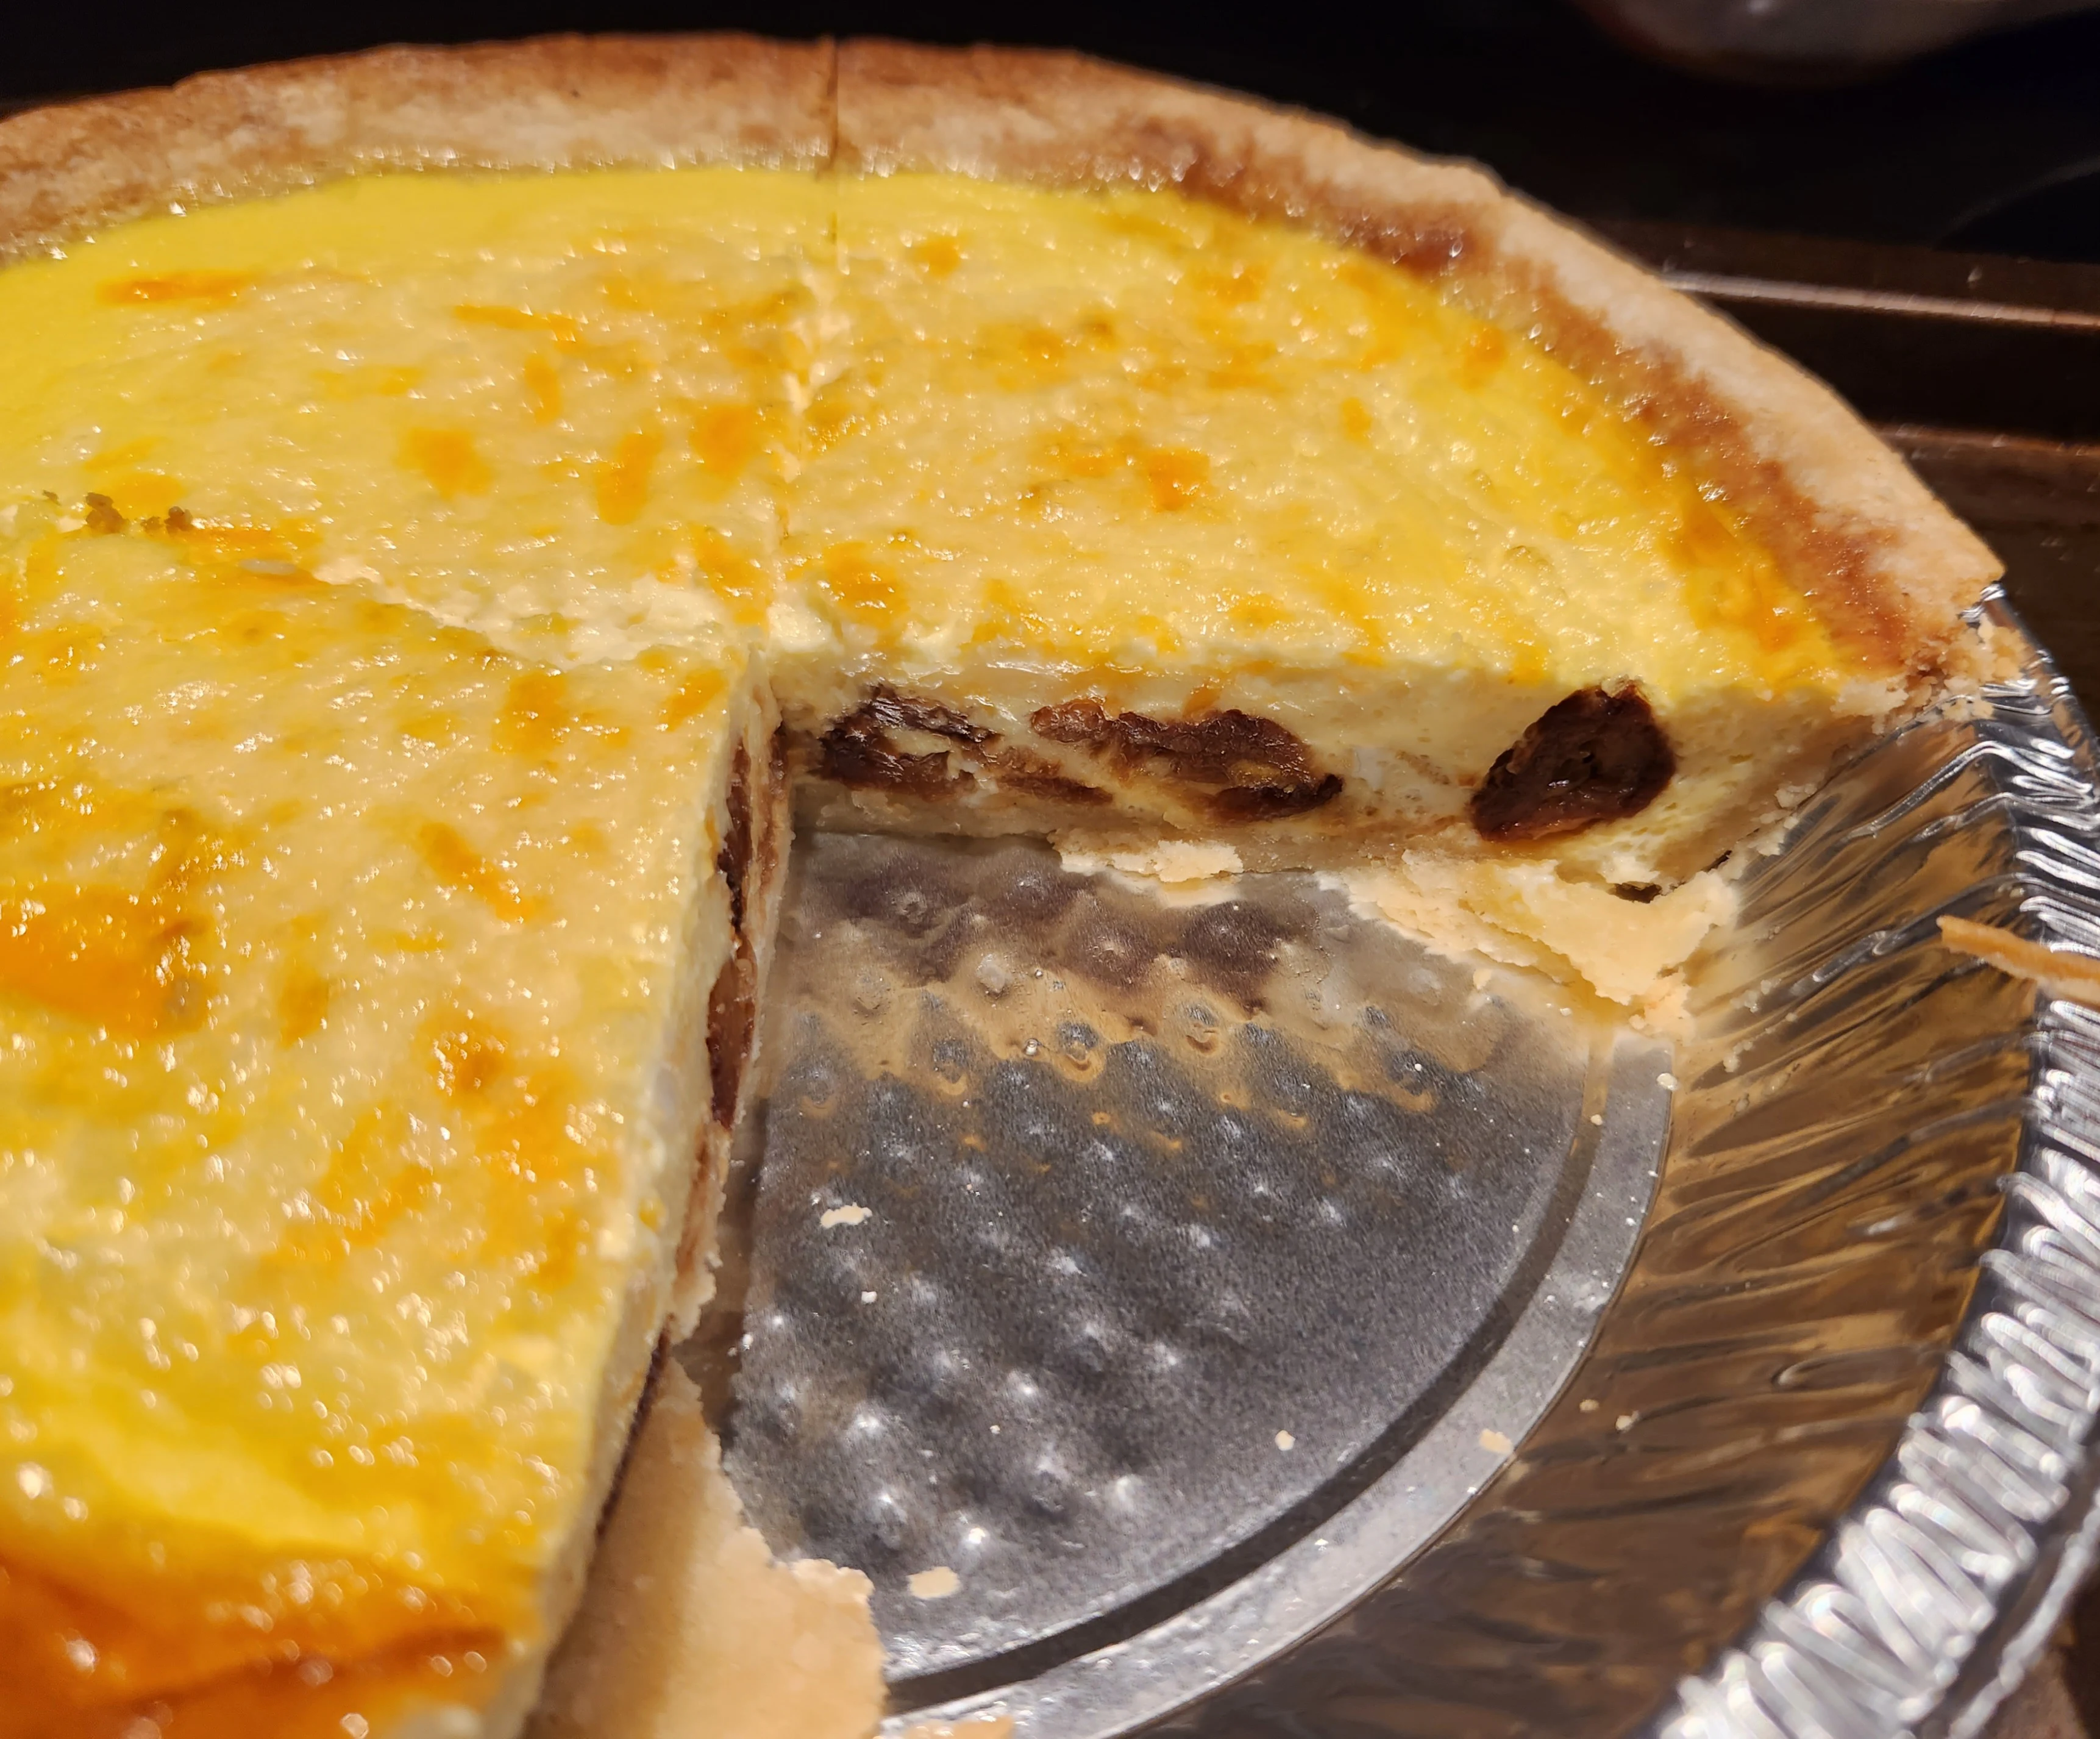


- 11
- 22
This was actually stupidly good. If you've never made confit garlic make it immediately.


- 26
- 22
Cheesecake is great as it's the kind of dessert that can be customized to be sweet, tart, and every flavor in-between. I'll post the results of the most popular cheesecake recipes here


- 27
- 28
How are we doing https://t.co/1II8uEF8Yu pic.twitter.com/U80yxE8v7O
— Billy 🥍 (@Billyhottakes) June 18, 2023


- 13
- 27
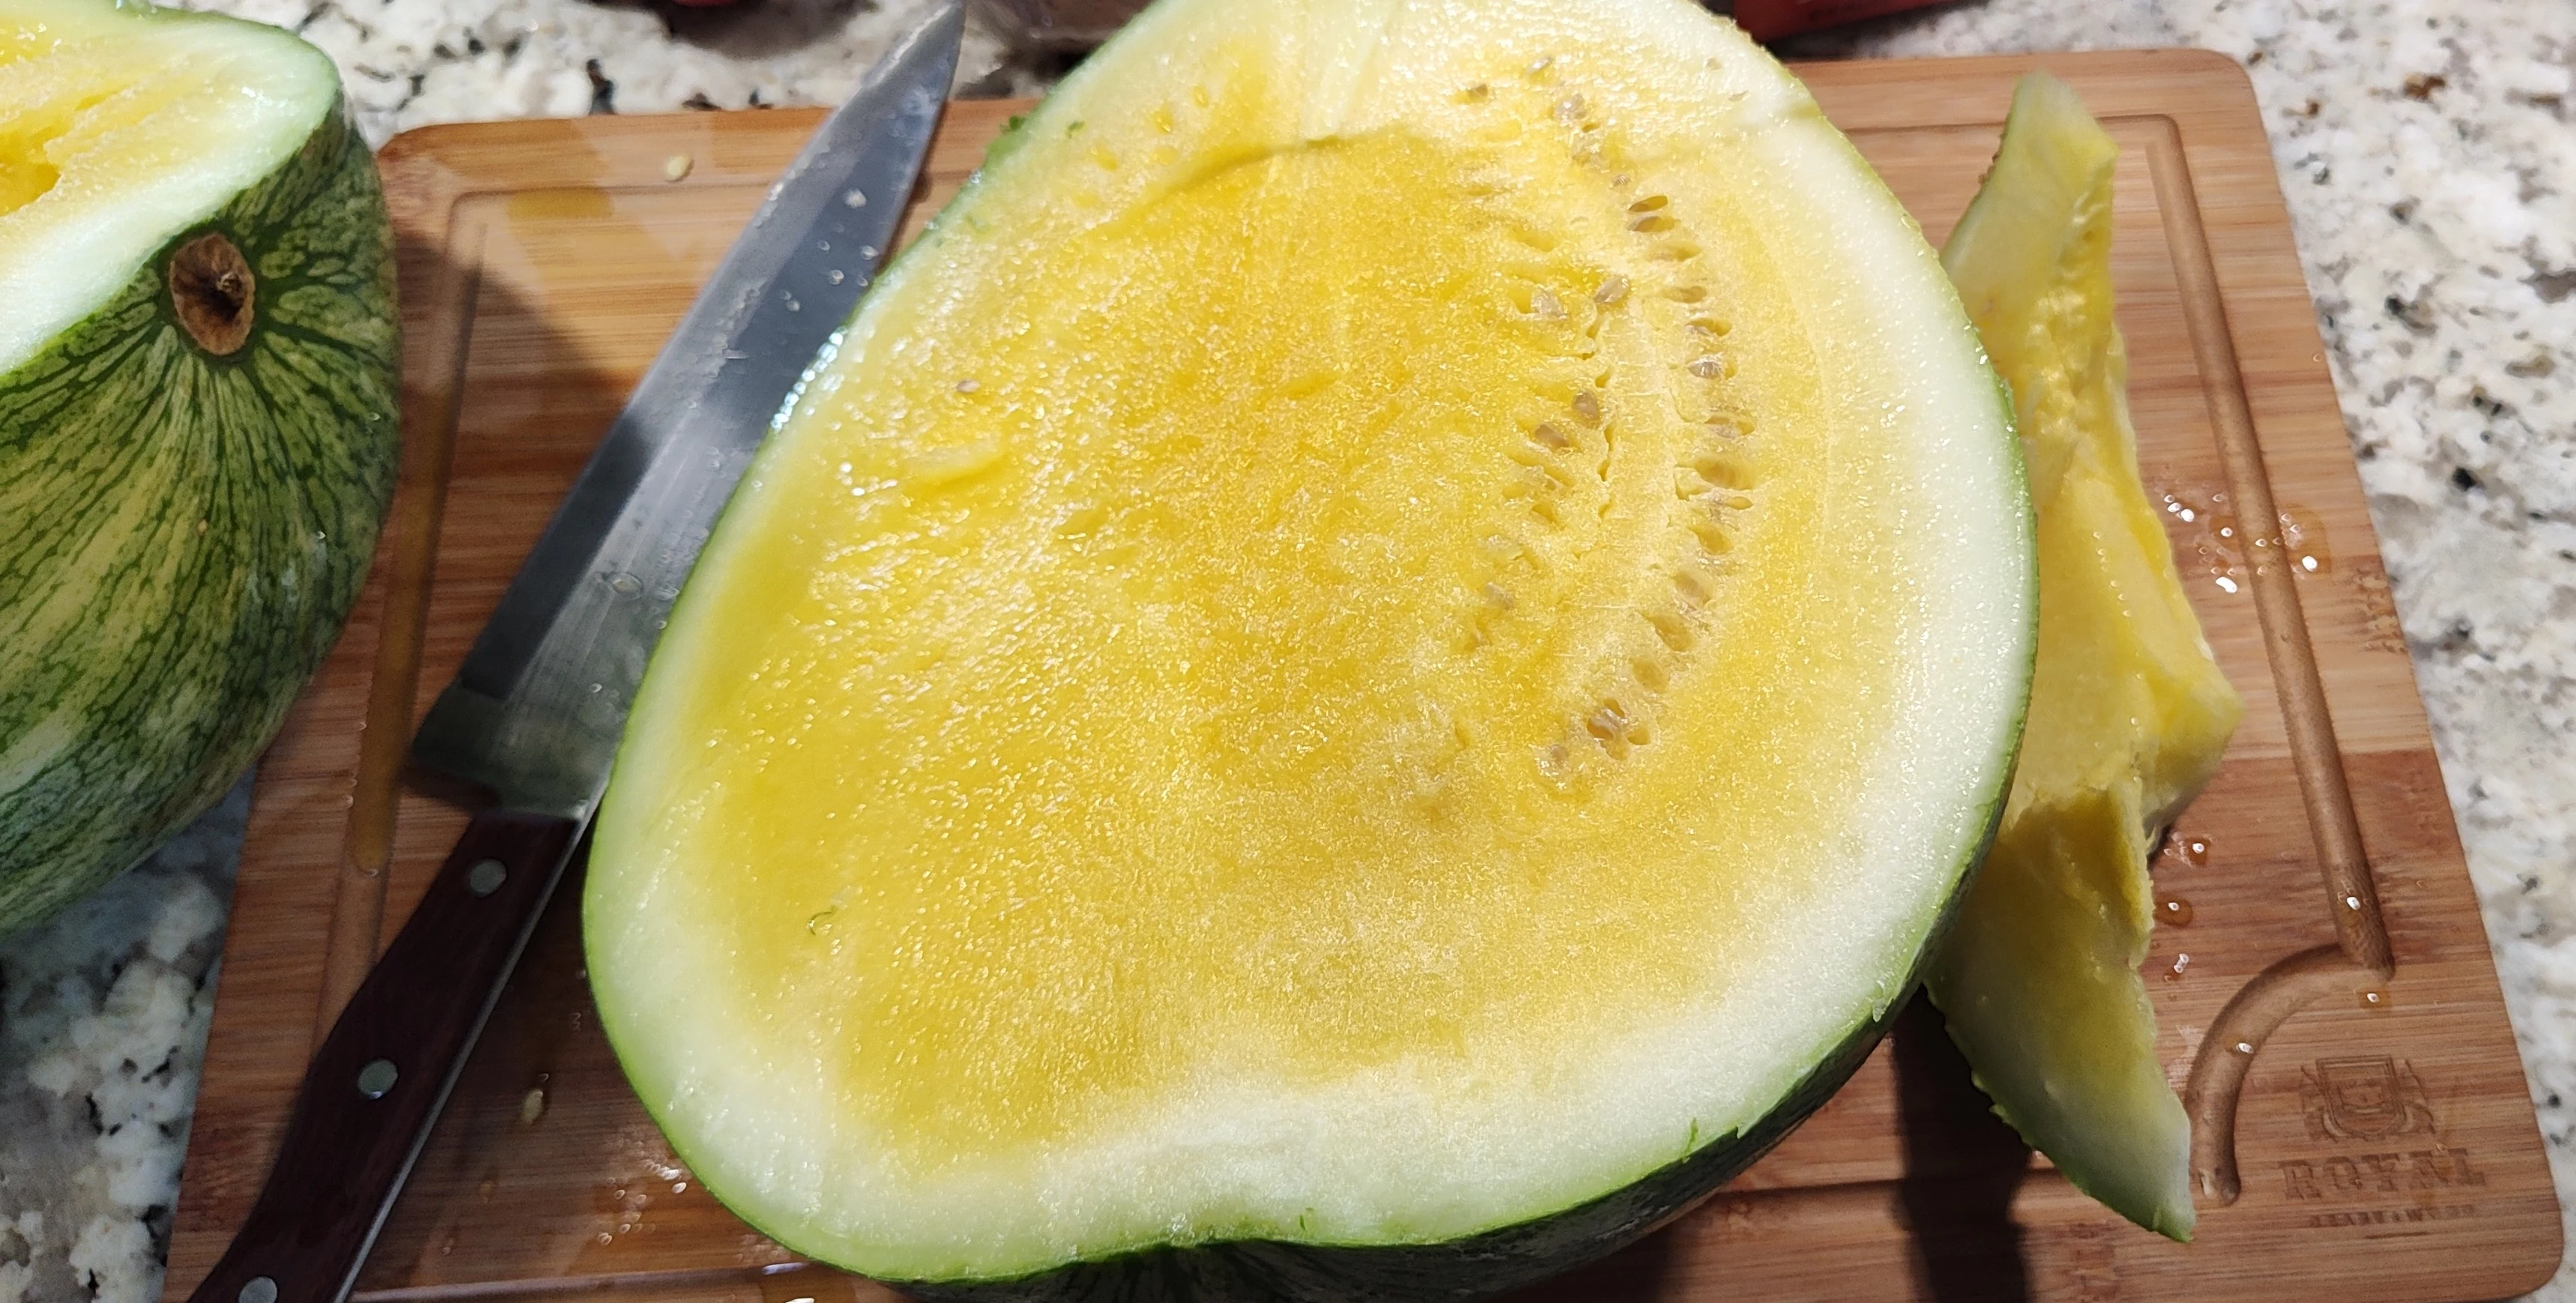
grayanotoxins? You’re a gayanotoxins https://t.co/XFSCXEmHj6
— Sam (@kbdznxawyu) June 18, 2023


- Slippery_Jim : No


- 39
- 40
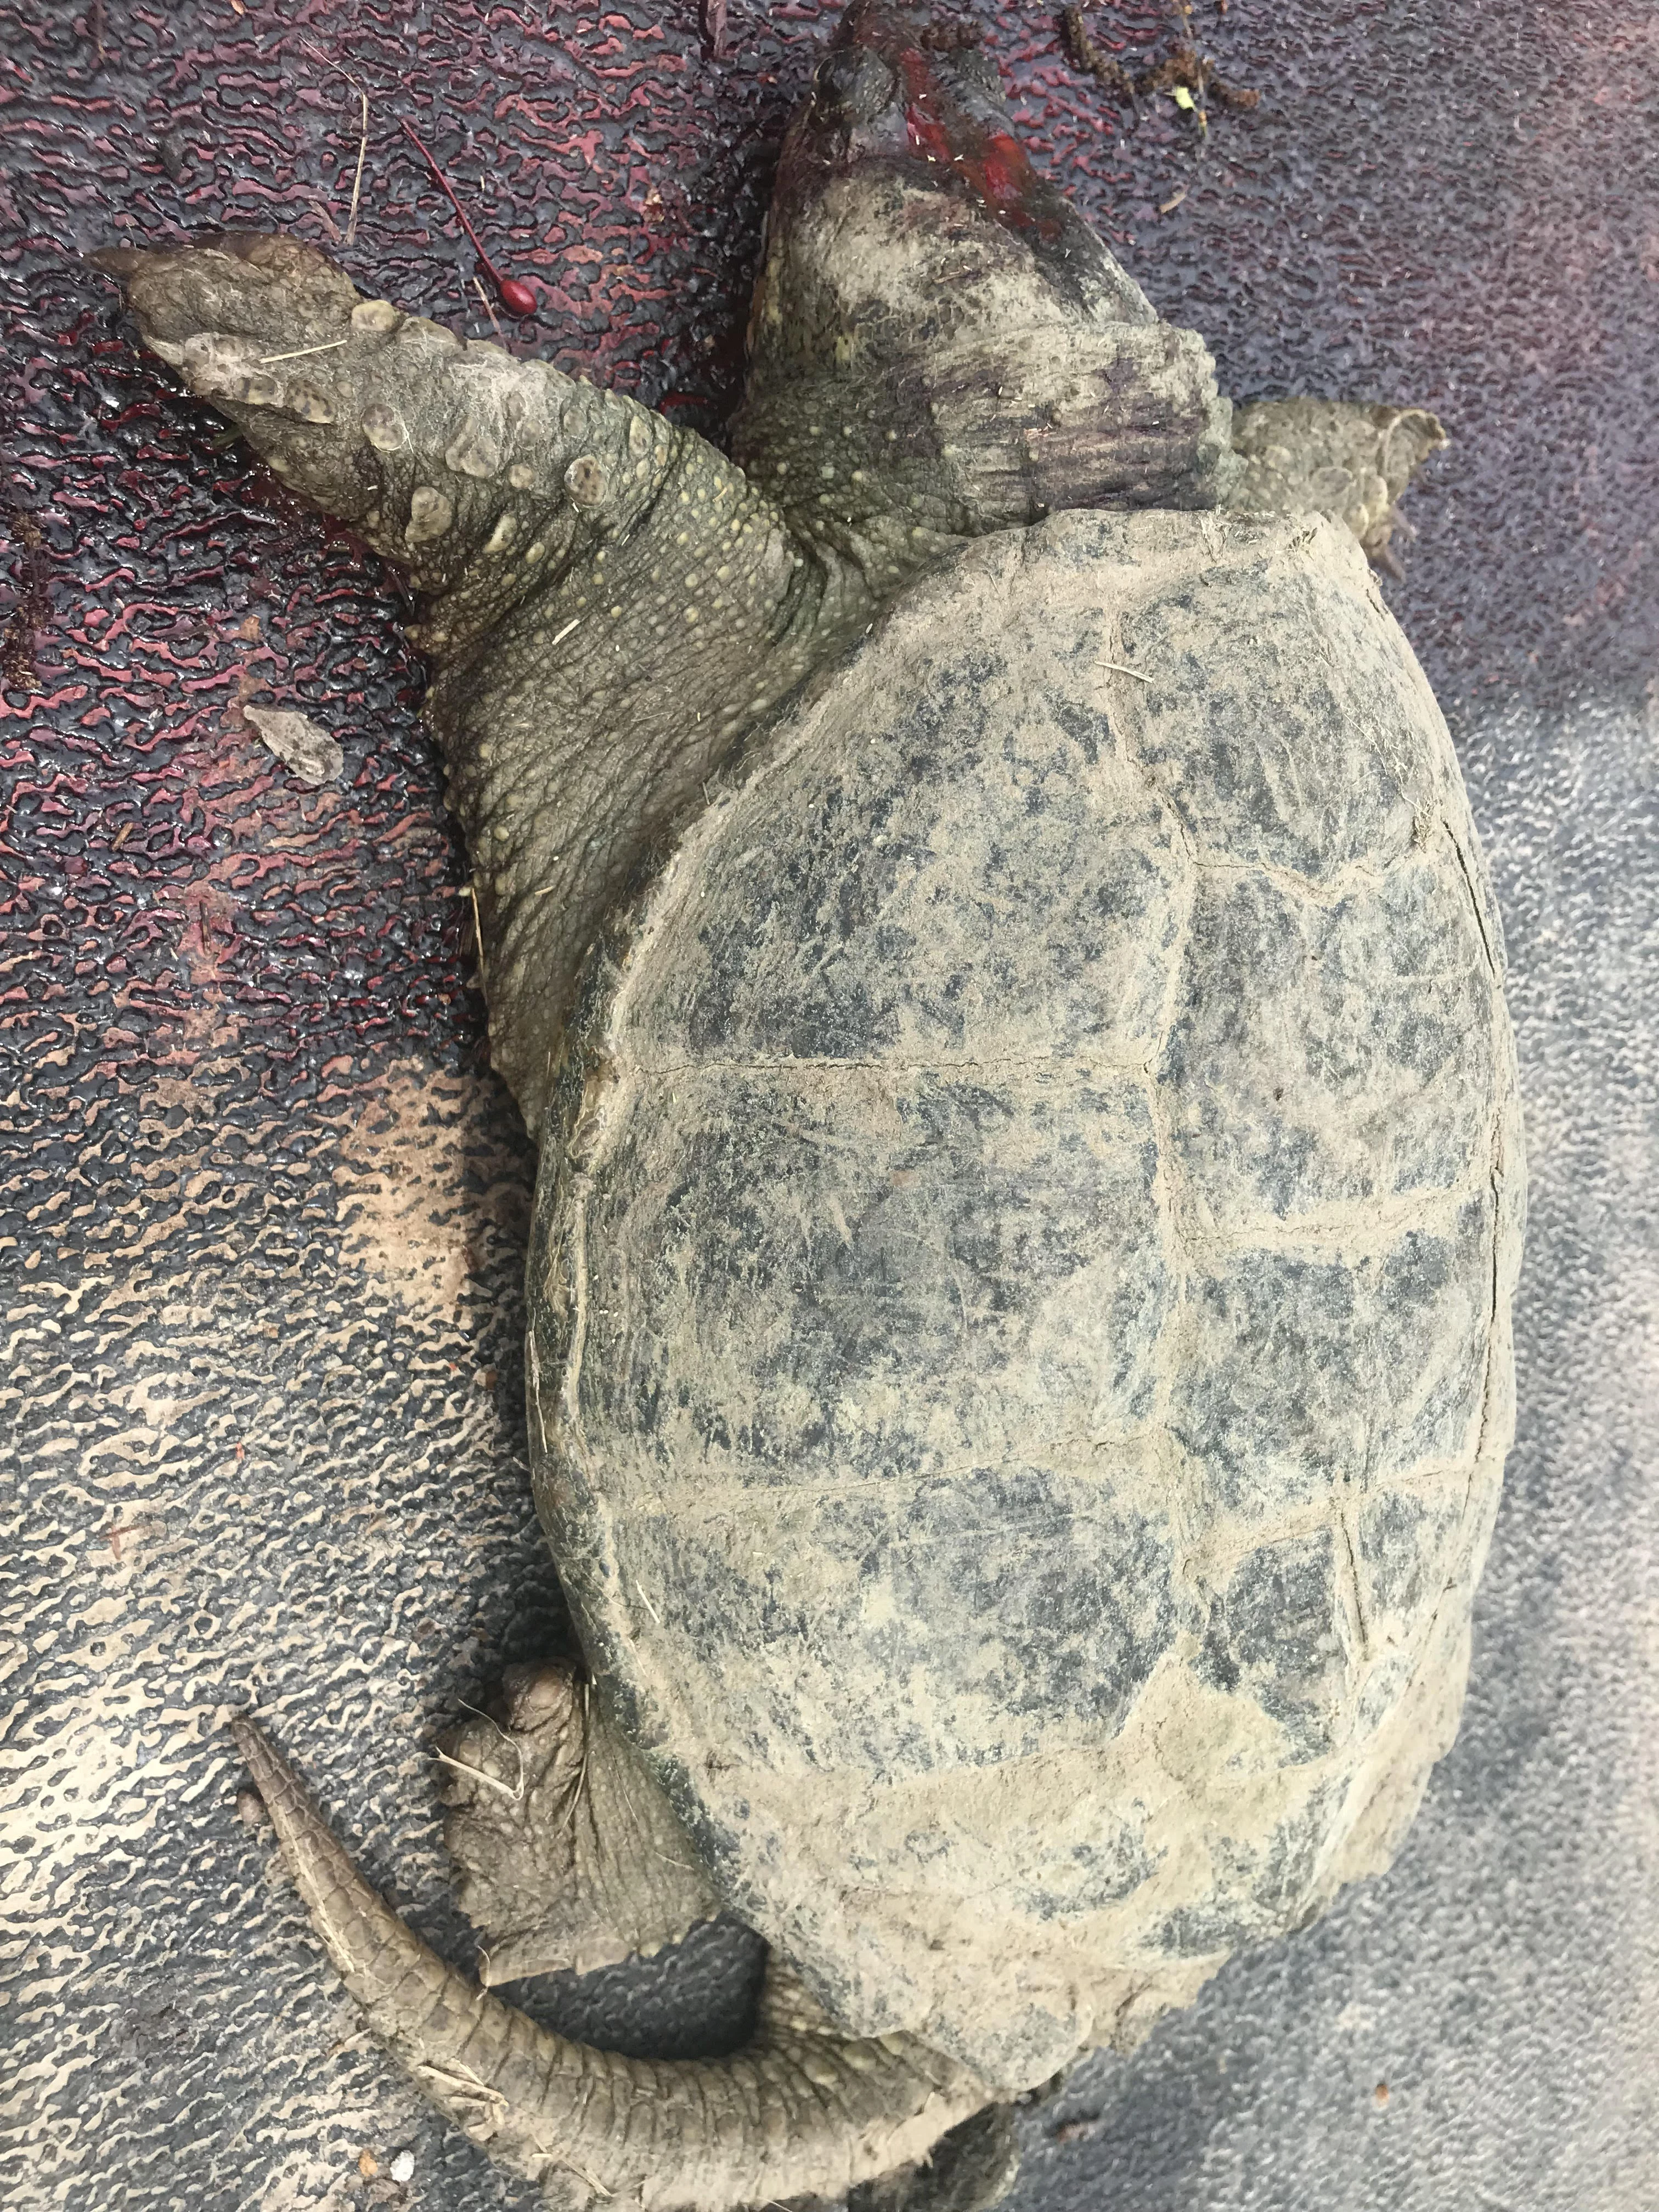
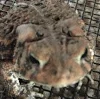
Since I've already posted about cooking a snapping turtle, I'm going to make a guide informing the people on the proper method to butcher a snapping turtle.
Step 1: Killing and prep
The only safe method of killing a snapping turtle is to shoot it in the head. .22lr is plenty, step on the tail to hold it still and shoot it when it gives you a shot. The turtle will continue to move for up to a day after being shot it the head, which includes biting, retracting into the shell, and kicking. The movements aren't random either, it can react to pain even after the complete removal of the head. Once the turtle is dead, wash it off. A hose can work but I used a pressure washer on low strength.
Now get your tools ready. I used a large cleaver, a paring knife, a thick filet knife, and pliers. You can do it with just one knife though. All knifes need to be sharp.
First you need to remove the head and bleed it. Chopping the head off with an axe can be difficult because the turtle can retract its head. If you try to cut the head off with a knife the front legs will claw your hands and push your knife away. The method I used was to first remove the front claws. Step on the arm and grab the claw with one hand, then slice around the wrist. Crack the wrist back and slice into the joint to fully remove the hand. Repeat for the other hand. Now the turtle won't have claws or enough reach to bother you while you decapitate it. Step on the shell and grab the nose. If you can't get a good grip, or if the turtle tries to bite, use pliers. Pull the neck straight and slice/chop the back of the neck behind the base of the skull. Flip the turtle over onto its back and do the same on the other side. Flip it over again and crack the neck up onto the back of the shell. Slice any connective tissue to fully remove the head. Hang it upside down to bleed for a couple hours. An easy way to hang it is to stab a hole through the back foot, then run a string through the hole.
Once done bleeding, triple bag the turtle in trash bags and put it in the freezer. This is not optional, it is near impossible to fully butcher one while it's still kicking at you. If the turtle is large enough the head might have a decent amount of meat on the jowls. If that's the case put the head in the freezer too.
Step 2: Butchering
The next day, take the turtle out of the bags and hose it down again. It'll shit in the bag and roll around in it. Once cleaned, let the carcass warm up for a couple hours.
Starting in the front half, cut the skin attached to the shell all the way around. Don't worry about stabbing in too deep on the front half. Once the skin is completely detached from the shell, stab in on either side of the neck. Now the neck should have no connection to either arm. Grab the arm and pull, then make a deep slice above it along the top of the shell. You should feel the shoulder separate from the shell. Once the shoulder is loose cut any more connective tissue around the arm and the whole front quarter should pull out. Repeat on the other side. Now that the neck is alone in the front half, pull it out as far as you can and make two deep slices along the top and bottom shells. The neck should pull out even more, now slice off as much of it as you can. Wring the neck if needed.
The back half is more complicated. You need to be careful with deep cuts, anything too far in can nick the intestines. Go slowly and use a smaller knife if you have one. Start by removing the back feet, using the same method as the front. Now cut the skin attached to the shell all the way around. Make a deep cut on either side of the tail until you reach the hip. Move to the legs and cut them loose of everything except the hip. Using the cut you made along the tail, slice in to the hip and wiggle the leg until your knife finds the ball joint. Once the joint is found make small slices around it until the leg pops out. Repeat on the other side.
The tail is the hardest part and isn't worth the effort on smaller turtles. I personally just sliced into the base of the tail and removed a chunk of meat from both sides, avoiding the spine and anus.
Now that you have your quarters and your neck, you need to skin them. Skinning is pretty self-explanatory and deboning is no different than on any other similarly sized animal. Like with all reptiles, trim all the fat.
This method allows you to take 90% of the meat from the turtle without having to remove the bottom shell or organs. It ends up leaving some meat on the hip and along the ribs, but not enough to warrant extra work in my opinion.
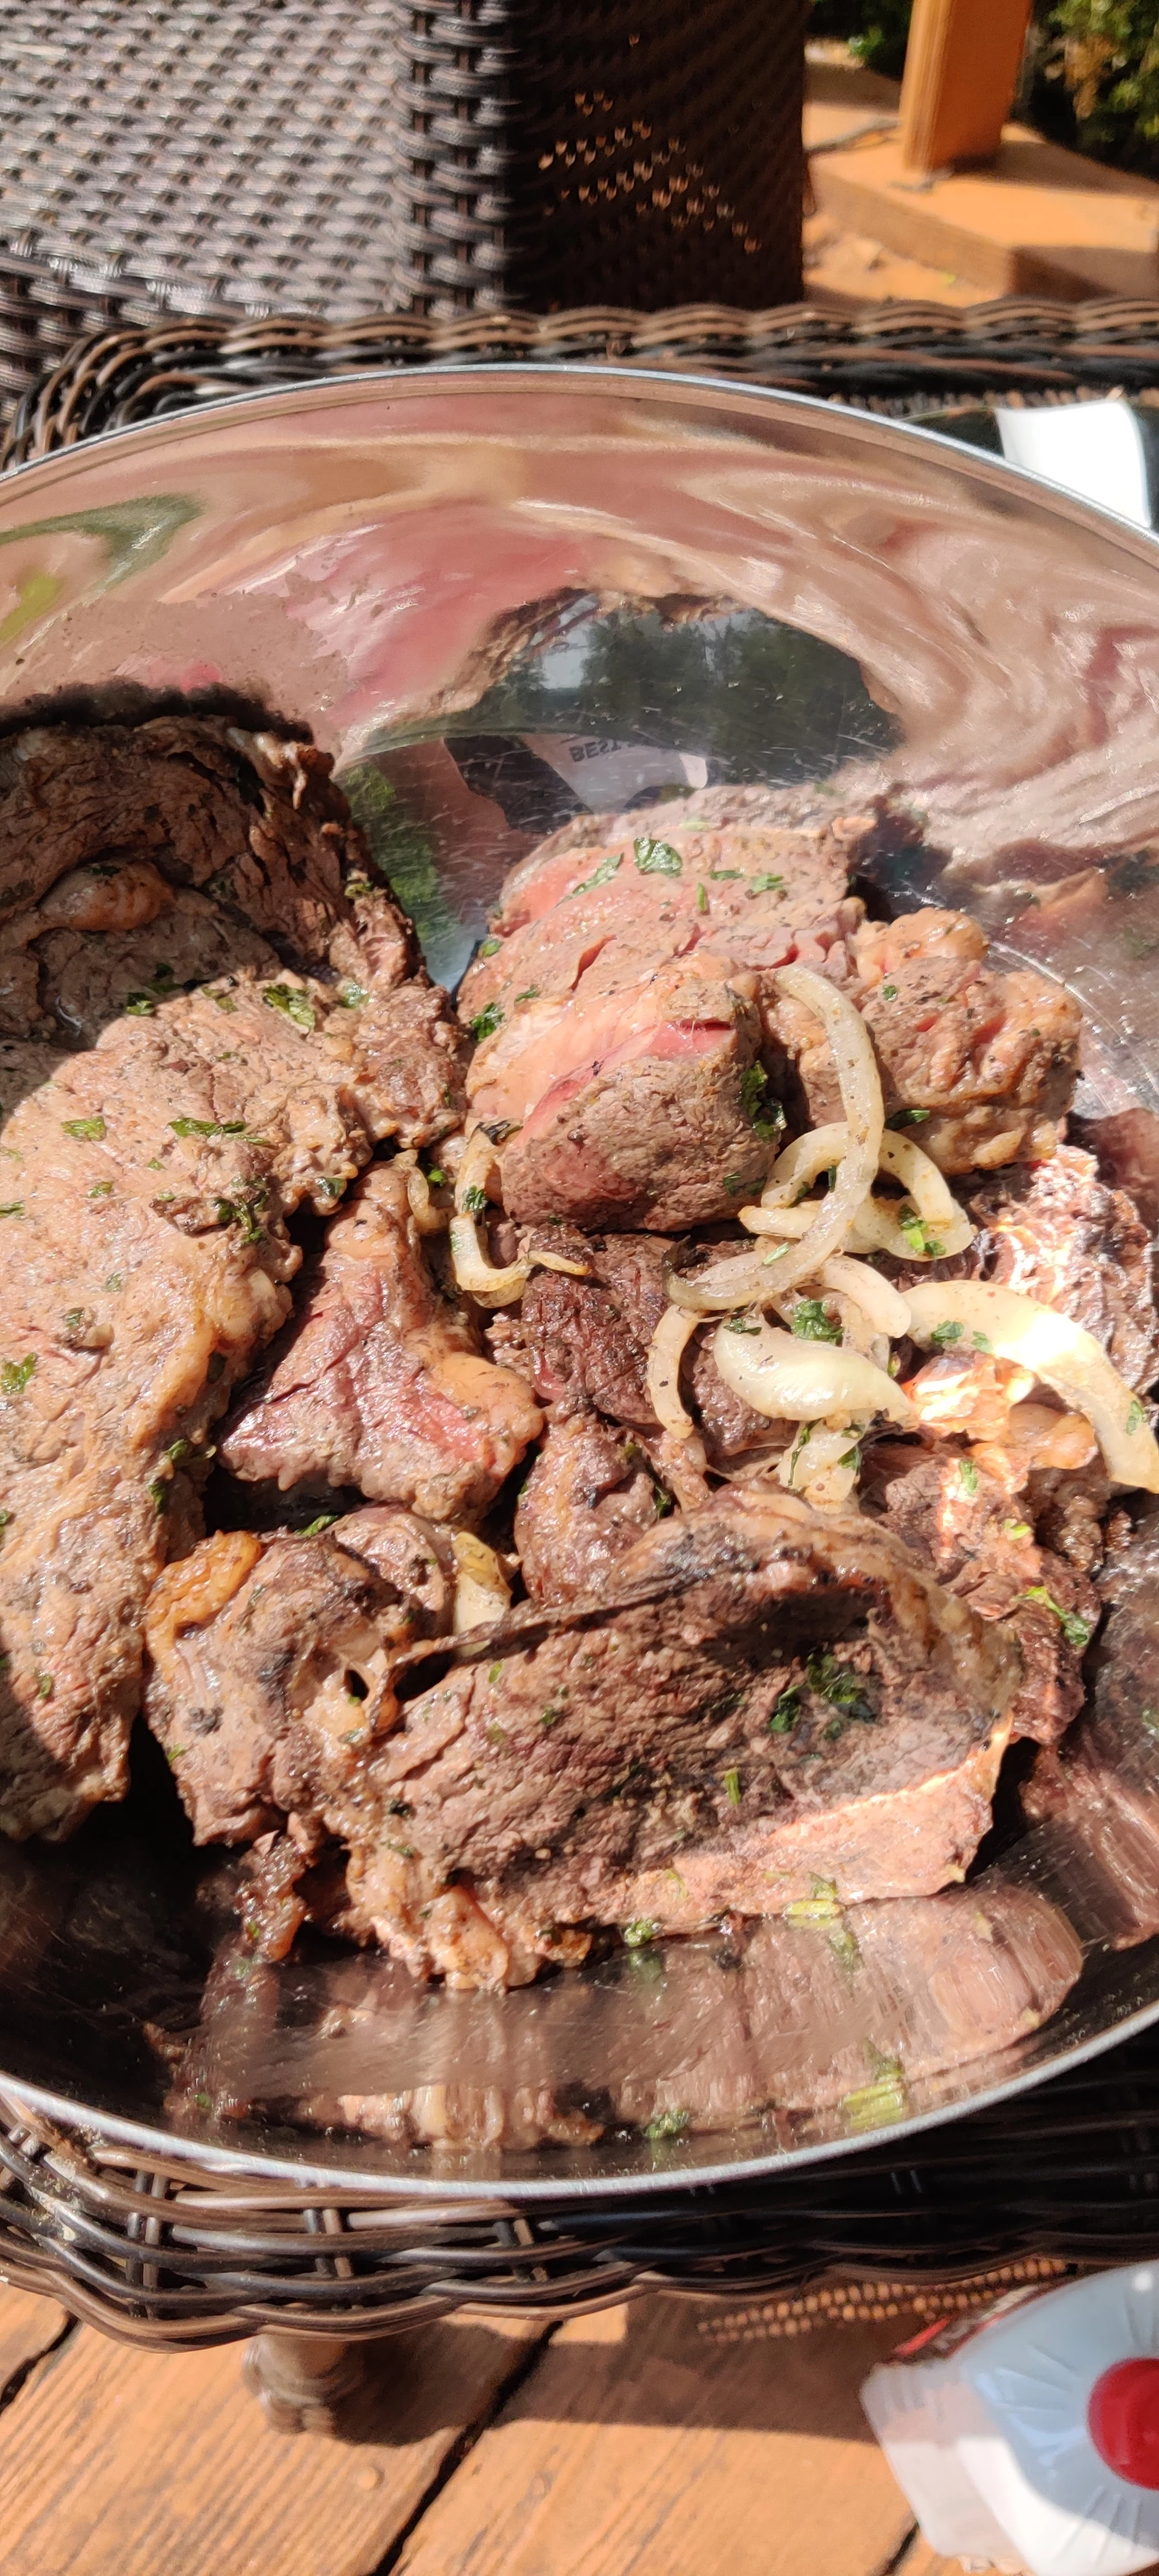
In case any of you missed the cooking post, and are curious about the taste, turtle meat has a mildly sweet flavor. The white meat on the neck and jowls reminds me of alligator and the dark meat is halfway between turkey and pork in texture with a mild taste like veal. The meat can be heavily marinated and seasoned and still maintain the sweet flavor. The meat is very tough though, which explains why turtle soup is so common. If I can find an effective way to tenderize the meat without needing to cook it for hours it could easily become one of my favorite foods.
Tips:
Have backup knives, a honing steel, or some form of sharpener on hand. Turtle skin is tough and can destroy the edge on knives.
Try to avoid flimsy filet knives. They seem to dull faster than more rigid knives and in my experience do horribly on turtles.
Don't wear gloves, there's a lot of precision cutting and gloves will just get in the way.
If you can get someone to do it, having an assistant hold the shell in place while you're doing this really helps.
Wear boots.


 rDrama’s resident femboy catgurl pro-ana twink superstar
- 18
- 79
Back to bed time. Night night everyone. 

 God bless this mess
- 31
- 21
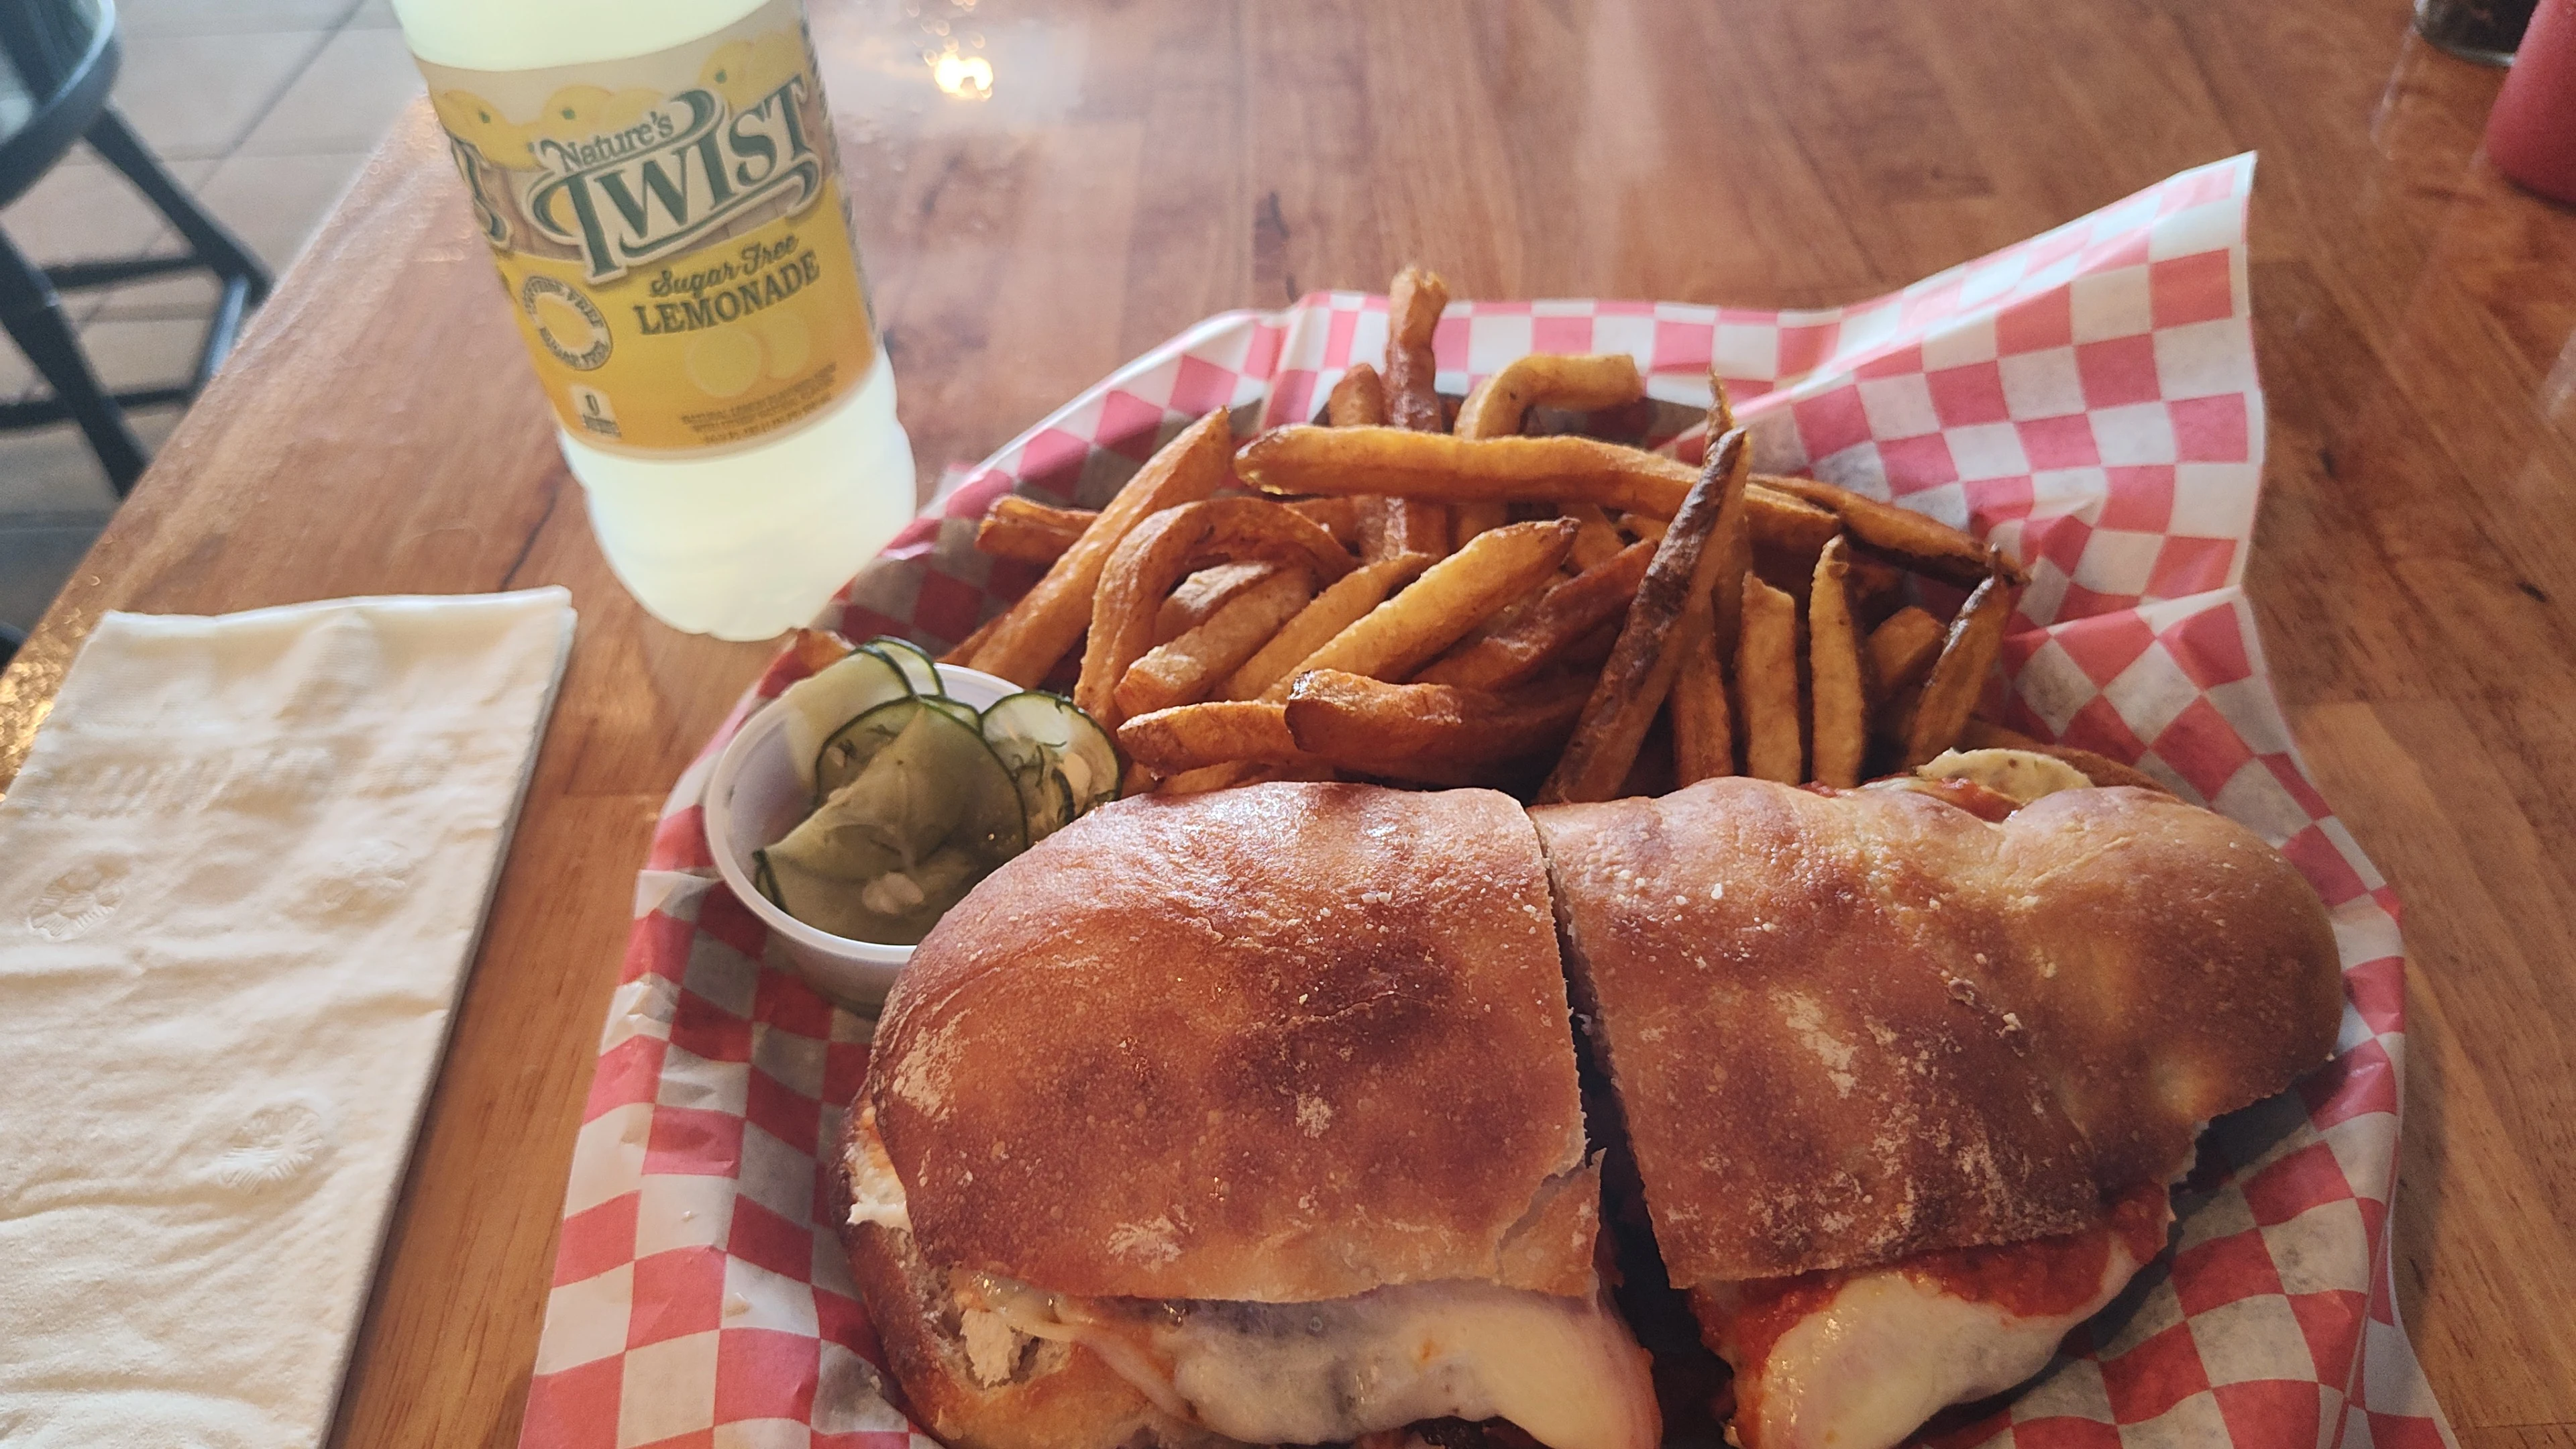
I made a bunch of Italian hoagies for a party and bought way too much cap and that stuff goes bad fast 


- 10
- 5
I have some garbanzo beans/chickpeas and never cooked with them before. What is a good thing to make with them, I dont have much right now but will go to the store later tonight so pretty much whatever is the best use. 

I saw a roasted cauliflower tomatoes and chickpea sheet pan idea and I’m leaning towards that.


- 23
- 8
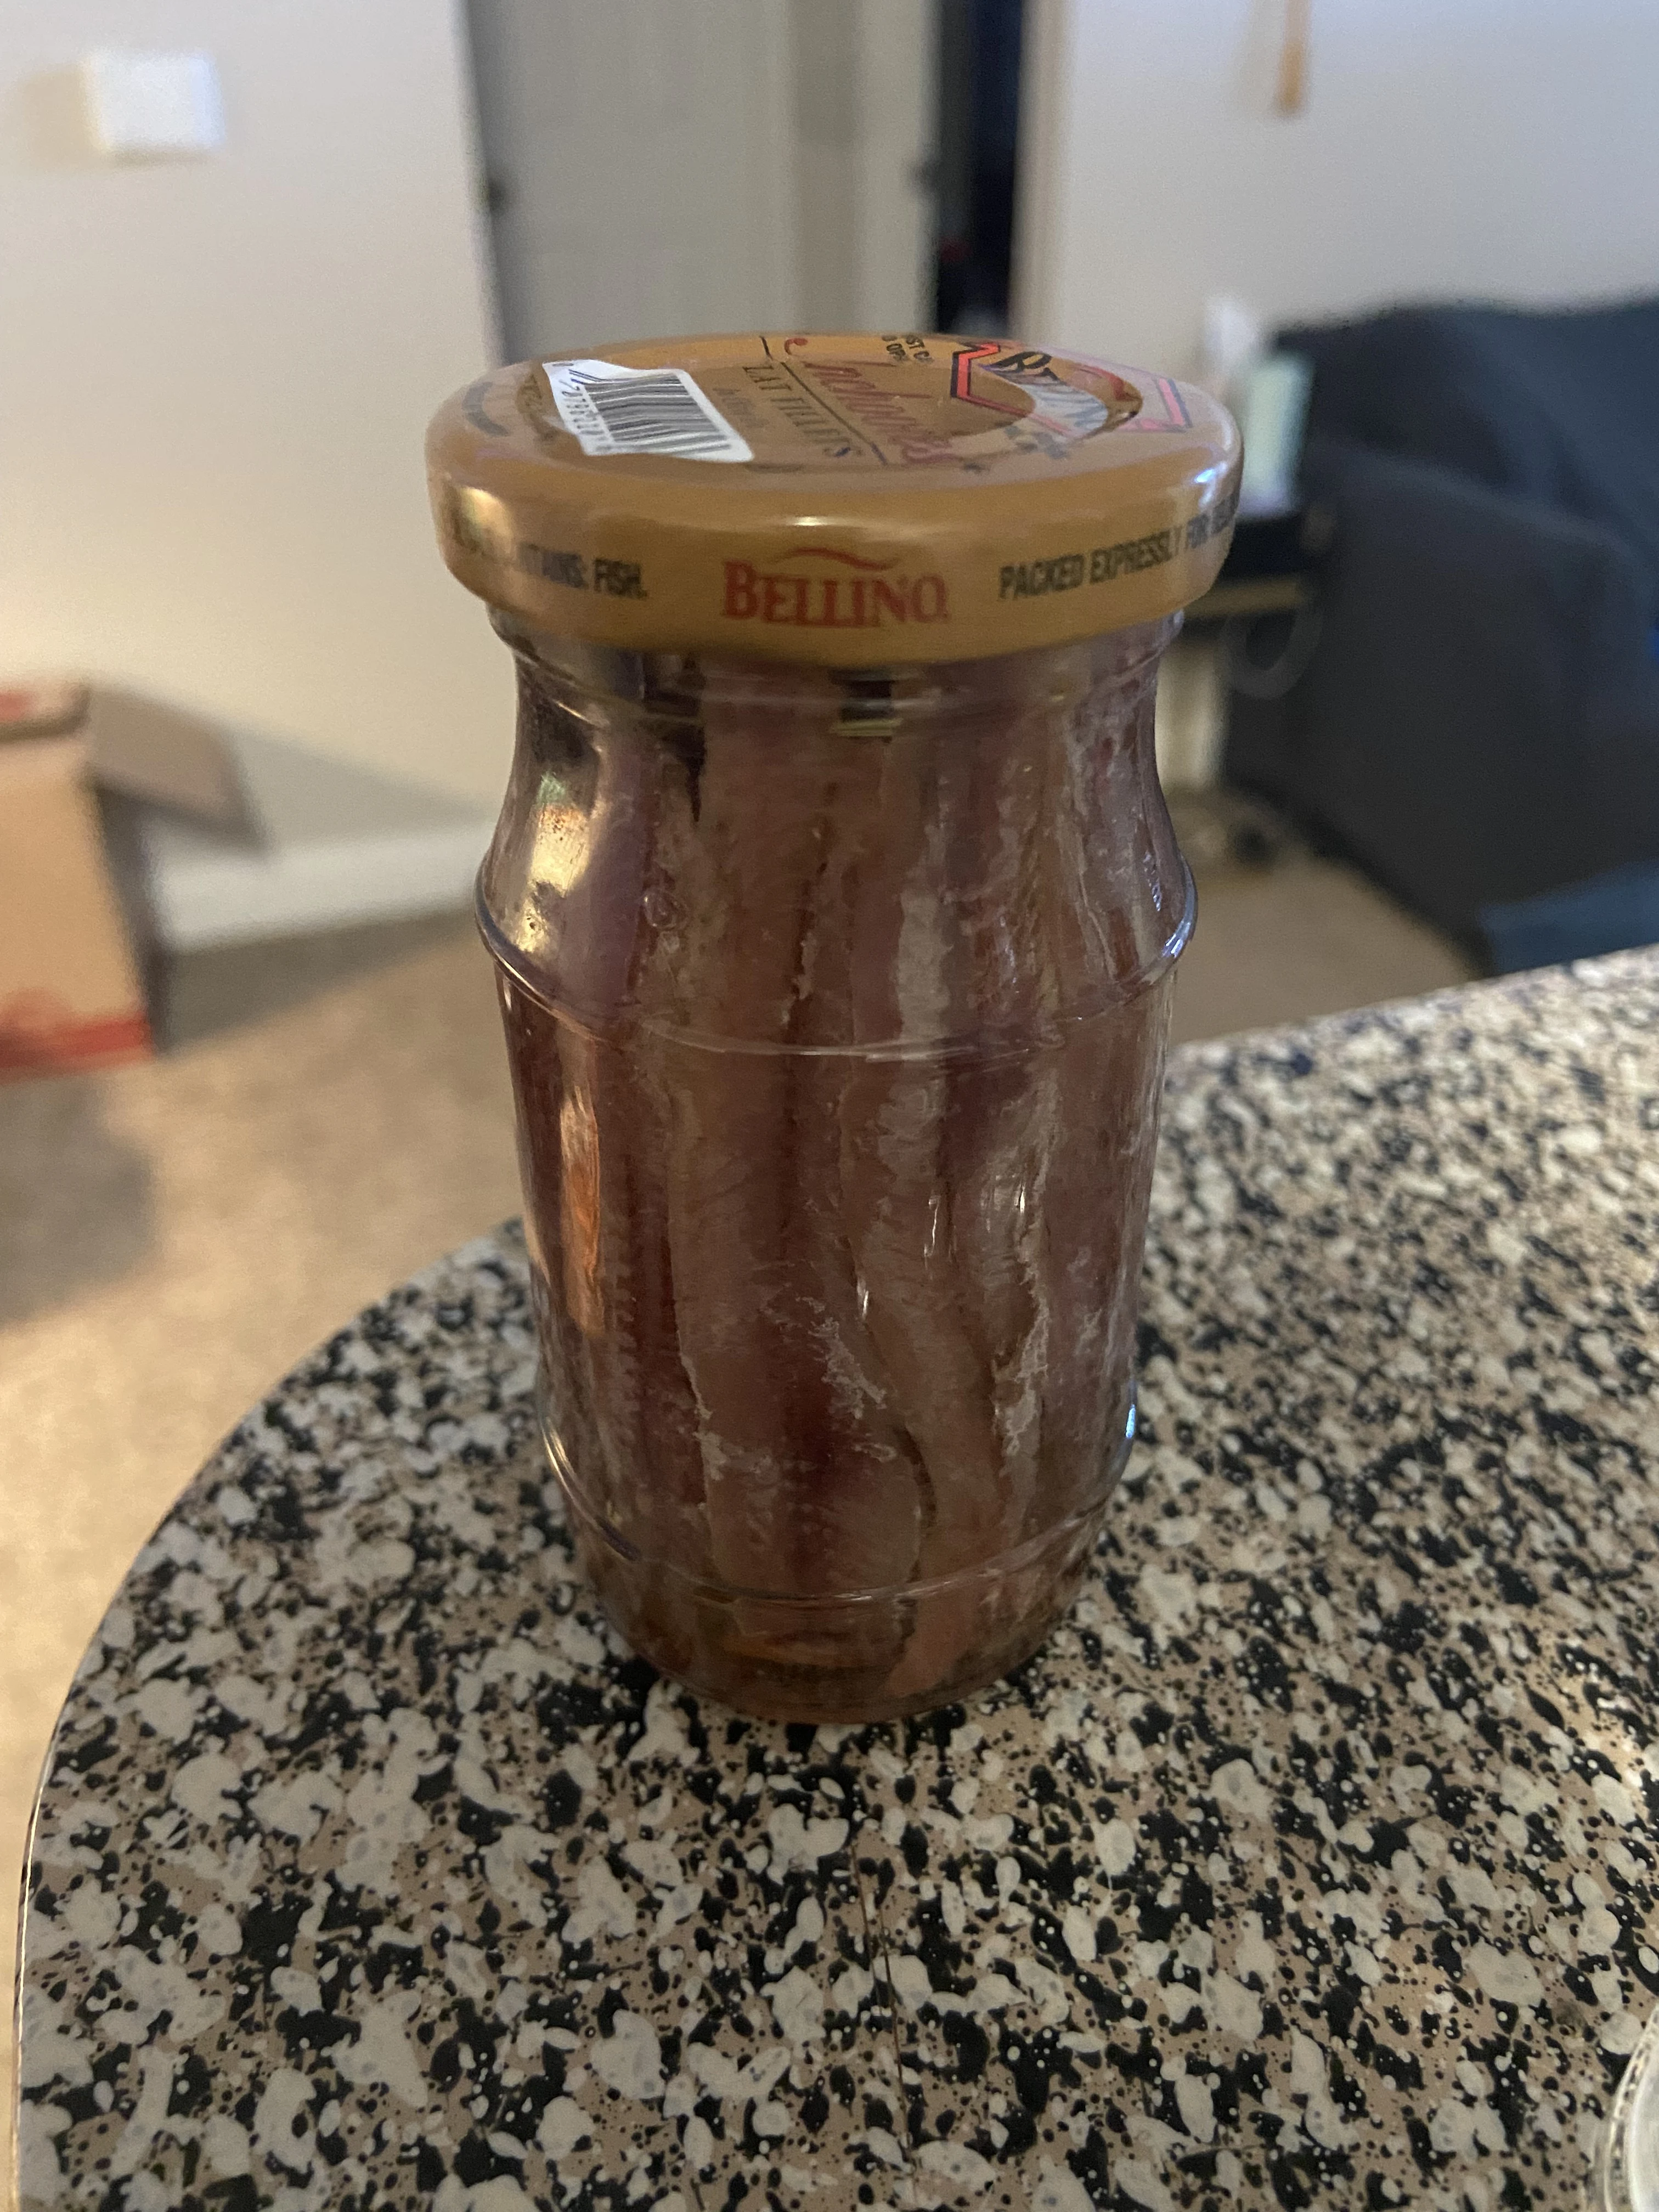
I’m planning on making a tasty Caesar salad tonight and I’ve always wanted to make the dressing correctly so I picked these up.
What else do you eat these things with? I don’t want to waste them.


- 36
- 42
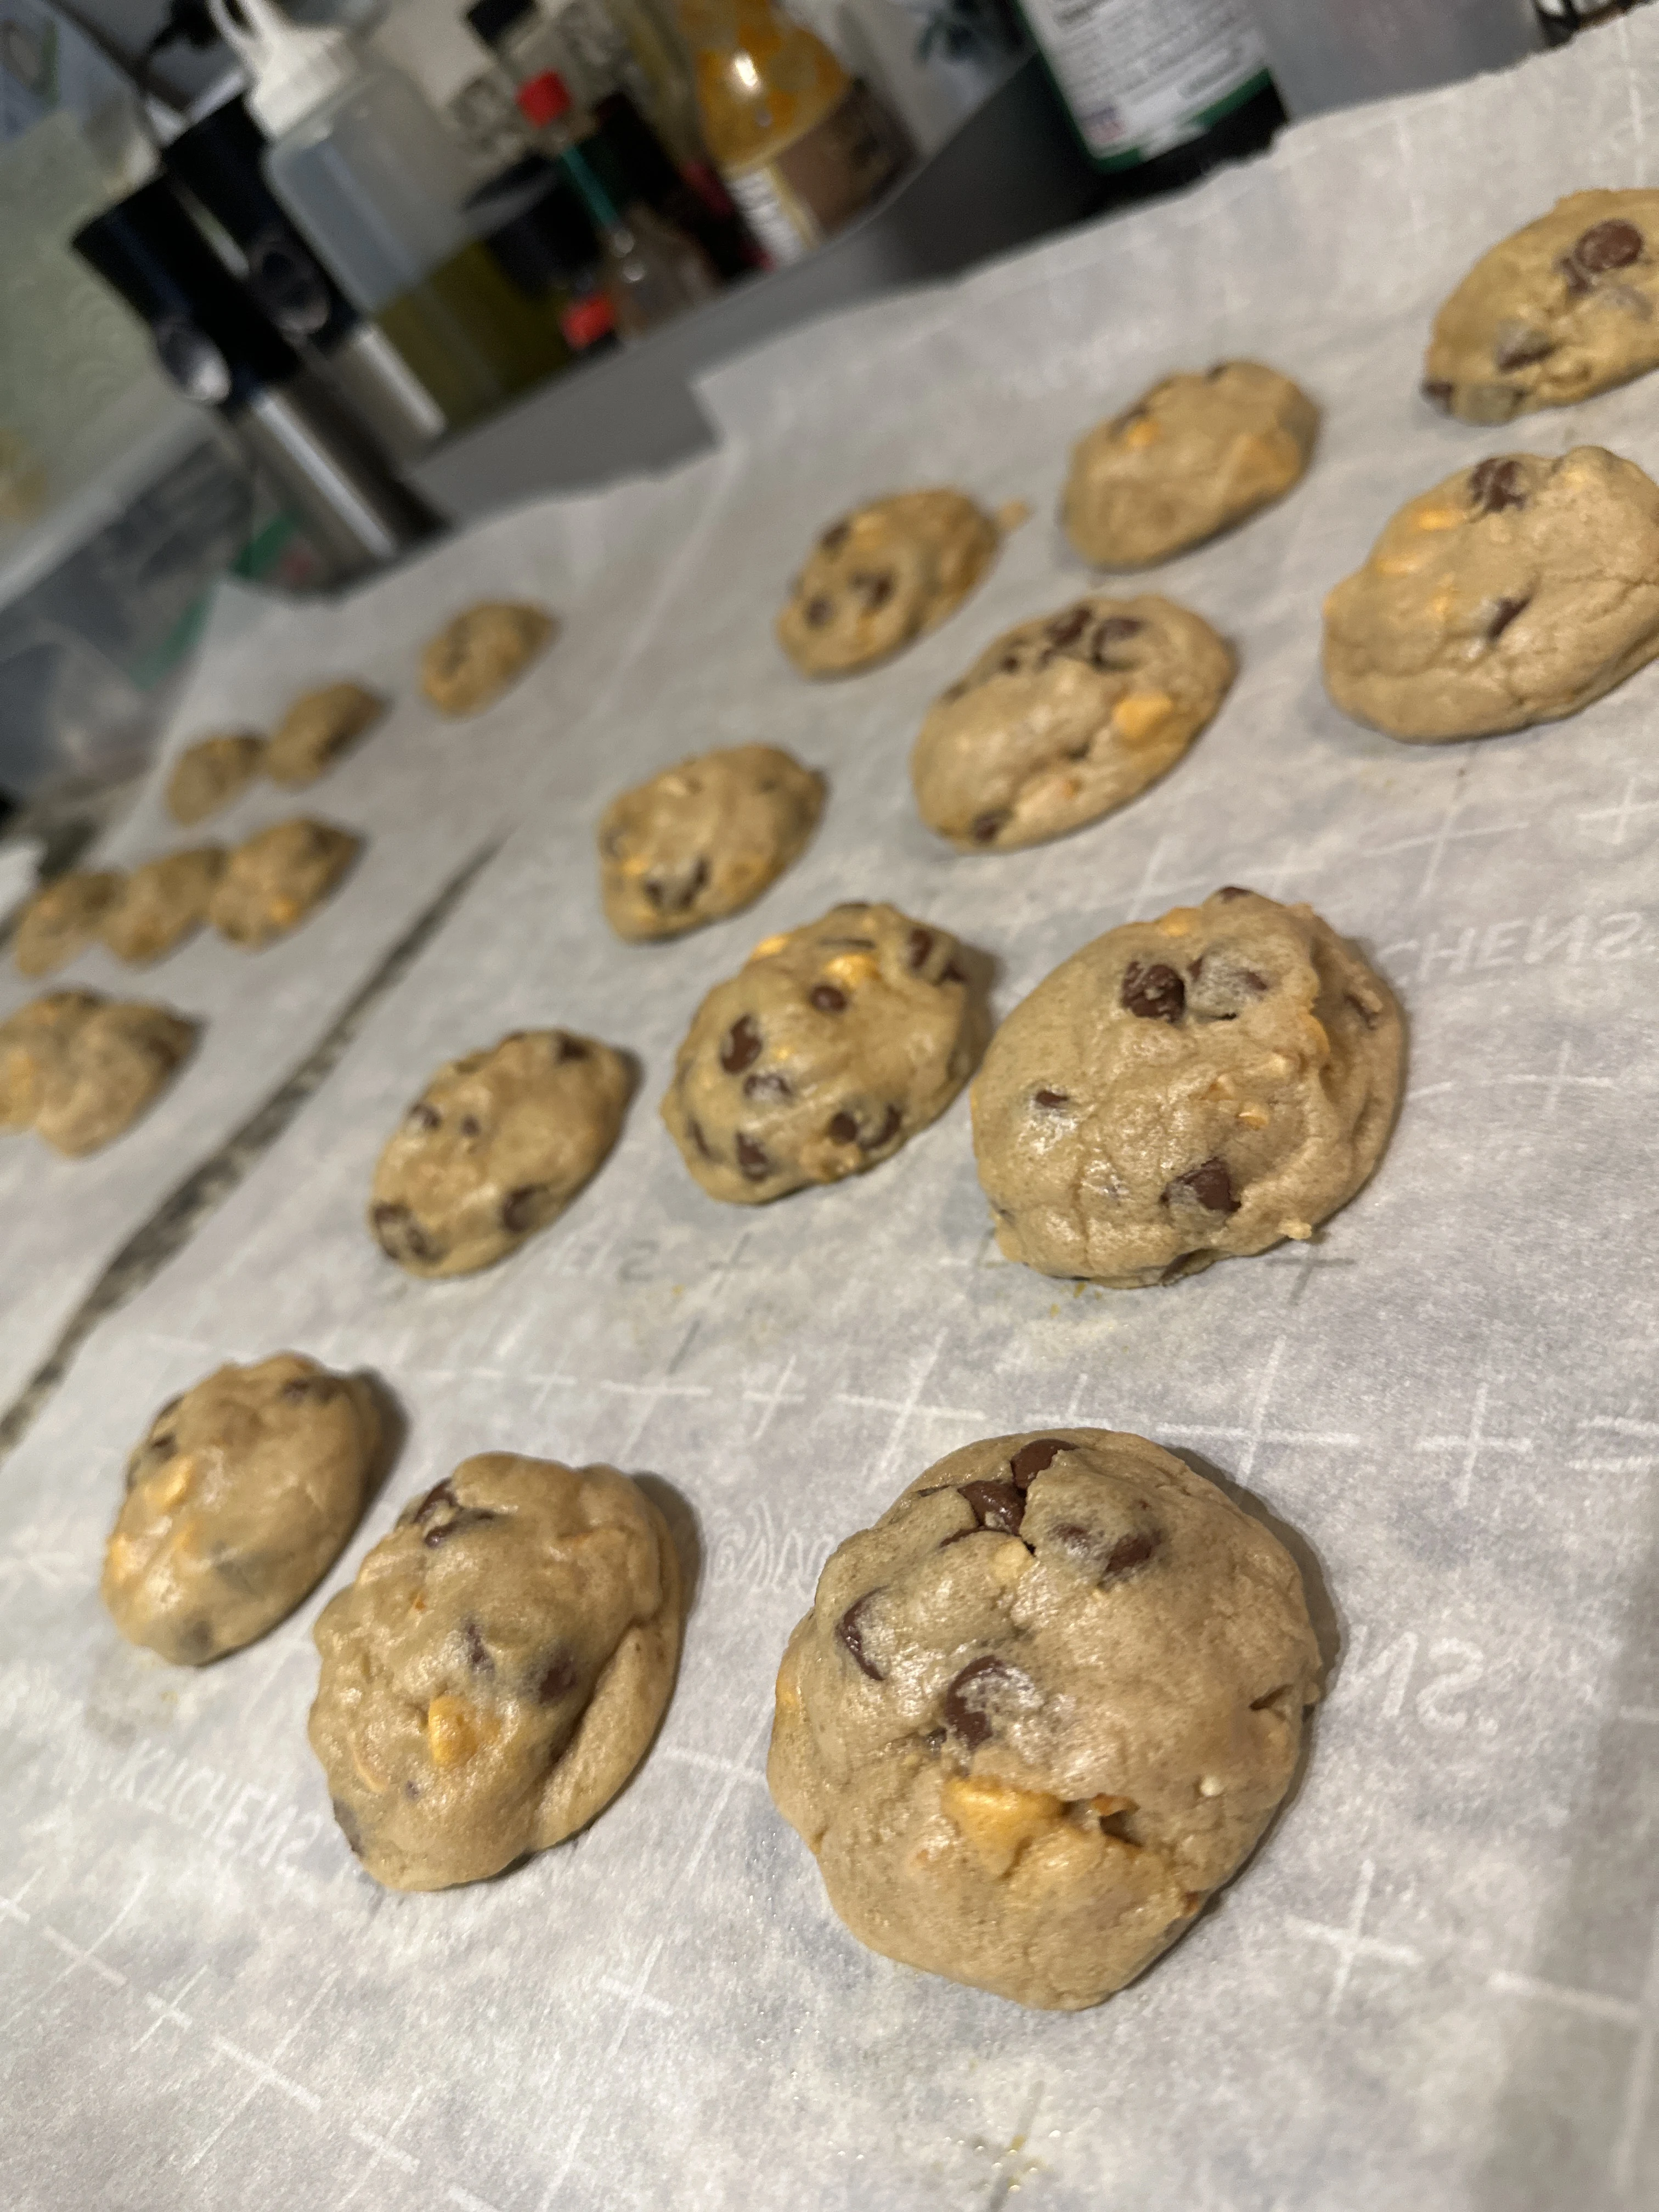
This was a recipe I’ve worked off and on with for about a year. At this point it is consistent, easy, and always the winner of any work potluck or social soirée.
——
Ingredient List:
——
Chocolate chips 8oz
Butterscotch chips 4oz
Crushed roasted peanuts 4oz
Flour 3 cups
Butter 2 sticks
White Sugar 1 cup
Brown Sugar 1 cup
Eggs x2
Baking soda 1 teaspoon
Vanilla Extract 1-3 teaspoons
Salt 1 tablespoon (thanks, @Aisha!)
——
Instructions
——
Step 1: blend sugars and butter together. Make your life easier by leaving out two sticks of butter overnight or at least for a few hours.
Step 2: mix in eggs, salt, vanilla extract, and baking soda (i dissolve it in a teaspoon of water before adding it)
Step 3: add flour, nuts and chips, mix for only as long as there aren’t flour clumps.
Step 4: roll into 1-1.5 inch. (I’m not exact with this at all and haven’t had a consistency issue)
Step 5 (optional): refrigerate for half an hour to an hour. The benefit of refrigerating is that it allows the flour to properly absorb the butter, meaning the cookies won’t spread while baking. So if you prefer disc cookies, skip this step. If you like them fat, refrigerate
Step 6: Bake on top rack for 12/13 minutes. 12 minutes is fine if you skipped the last step.
Step 7 (optional): Remove them from the baking sheet to let them cool unless you want a crisper cookie OR if the batch came out too white.
That’s it! Enjoy. 
Write a poem to a hottie and deliver this with it and they’ll be e.e cumming all over your peepee/clit. 


- 13
- 18
If you disagree you are an ESL.
Top Poster of the Day:

 J
J
Current Registered Users: 25,713
 BROWSE EFFORTPOSTS
SITE GUIDE
HOLES
PING GROUPS
BROWSE EFFORTPOSTS
SITE GUIDE
HOLES
PING GROUPS
/h/food LOG /h/food MODS /h/food EXILEES /h/food FOLLOWERS /h/food BLOCKERS